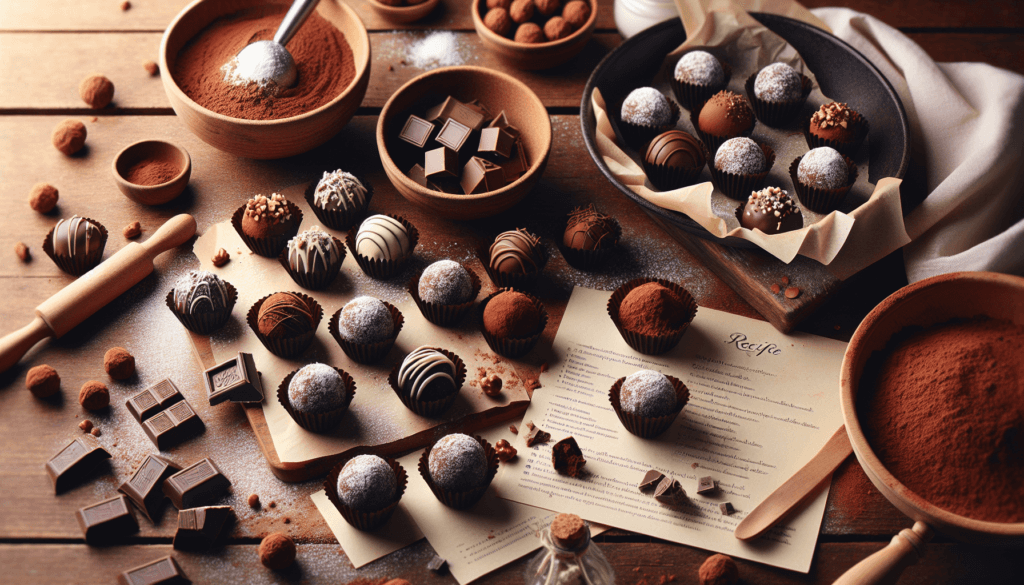
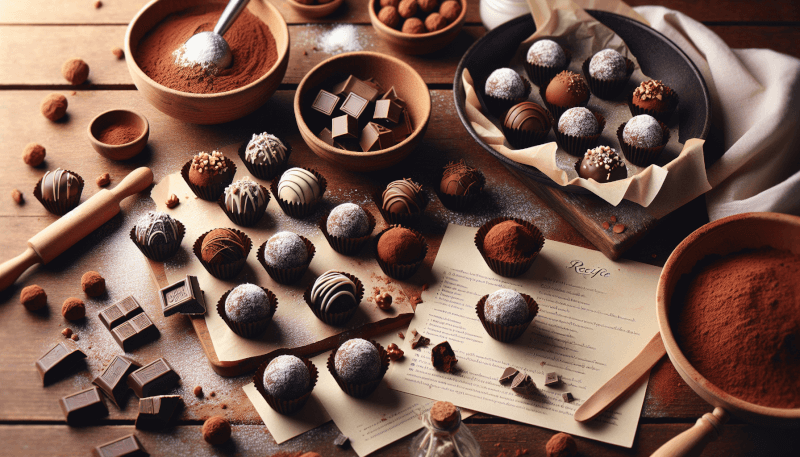
If you’ve ever indulged in the rich, velvety goodness of a chocolate truffle, you know how irresistible they can be. But did you know that making these delectable treats at home is easier than you think? In this article, we’ll guide you through the simple steps to create your own homemade chocolate truffles. From selecting the finest chocolate to adding your favorite flavors and toppings, you’ll soon be savoring the satisfaction of creating these gourmet delights right in your own kitchen. Get ready to impress your friends and family with your newfound truffle-making skills!
Choosing the Ingredients
When it comes to making homemade chocolate truffles, selecting high-quality ingredients is essential to achieving a delicious end result. And at the top of your list should be high-quality chocolate. Look for chocolate with a high cocoa content, as this will give your truffles a rich and intense flavor. Additionally, opt for chocolate that is made with real cocoa butter for a smooth and creamy texture.
Once you’ve chosen your chocolate, you’ll need to decide on the type – dark, milk, or white chocolate. Dark chocolate is typically the go-to choice for truffles, as its slightly bitter taste pairs well with a variety of flavors. If you prefer a sweeter option, milk chocolate can be a great alternative. And for those who enjoy a creamy and delicate flavor, white chocolate is the way to go.
In addition to the chocolate, you’ll have the opportunity to add a variety of flavors and fillings to your truffles. Whether you prefer classic options like vanilla, coffee, or almond extract, or want to get creative with spices, liqueurs, or fruit zest, the flavor possibilities are endless. Similarly, you can experiment with different fillings, such as nuts, fruit preserves, caramel, or even cookie dough. Let your imagination run wild and create unique combinations that cater to your taste preferences.
Preparing the Ganache
The ganache is the heart and soul of a chocolate truffle, and its preparation requires a few simple steps. Begin by chopping your selected chocolate into small, evenly sized pieces. This will ensure that it melts quickly and evenly when combined with the cream. Heating the cream is the next step, which can be done either on the stovetop or in the microwave. Be careful not to let it boil; you just want to warm it enough to melt the chocolate.
Once the cream is heated, it’s time to combine it with the chocolate. Pour the cream over the chocolate pieces and let them sit for a minute or two to soften. Then, gently stir everything together until the chocolate is completely melted and a smooth ganache forms. At this point, you can add your chosen flavorings and fillings, taking care to evenly distribute them throughout the ganache. This will ensure that each truffle has a burst of flavor in every bite.
Shaping the Truffles
Now that you have your ganache ready, it’s time to shape your truffles. The first step is to allow the ganache to cool and set. This can be achieved by letting it sit at room temperature for a few hours or by placing it in the refrigerator for about 30 minutes. Once the ganache has cooled and firmed up, you can start shaping it into truffles.
There are two common methods for shaping truffles – scooping or piping. Scooping involves using a small spoon or cookie scoop to portion out the ganache and then rolling it between your palms to form a round shape. Piping, on the other hand, requires filling a piping bag fitted with a round tip with the ganache and squeezing it out to create small mounds. Whichever method you choose, make sure to work quickly and handle the ganache as little as possible to prevent it from melting.
After shaping the truffles, you have the option to place them in the refrigerator or freezer to set completely. This will make it easier to coat them later without them losing their shape. Plus, the chilled truffles will have a lovely smooth texture when you bite into them.
Coating the Truffles
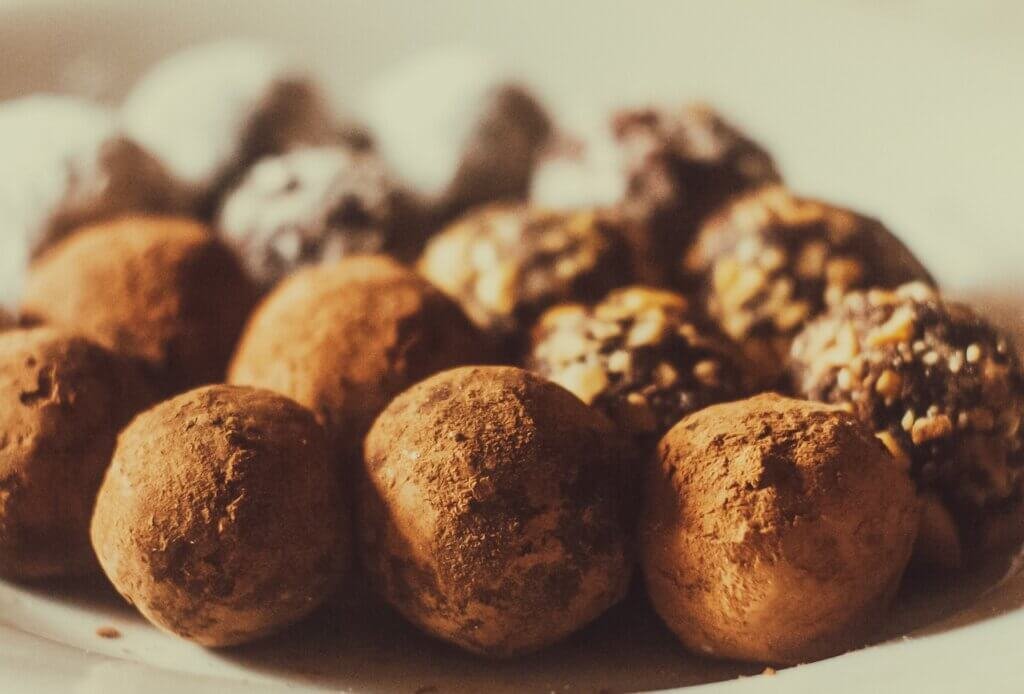
Coating your truffles is the next step in the process, adding an extra layer of flavor and texture. To prepare the coating ingredients, you can choose from a variety of options. Traditional choices include melted chocolate, cocoa powder, or ground nuts. Other delicious ideas include shredded coconut, colored sprinkles, or even crushed cookies. The coating you choose will depend on your personal preferences and the flavors you’ve incorporated into your truffles.
If you decide to use melted chocolate for dipping, you can easily achieve a smooth and shiny finish by using a double boiler. Place a heatproof bowl over a pot of simmering water, making sure the bottom of the bowl doesn’t touch the water. Add your selected chocolate to the bowl and stir occasionally until it melts completely. Once melted, remove the bowl from the heat and let it cool slightly before dipping your truffles.
To coat the truffles, simply drop them one by one into the melted chocolate, gently roll them around using a fork or dipping tool, and then lift them out, allowing any excess chocolate to drip off. For even coating and easier handling, it’s best to work in small batches. Once coated, you can place the truffles on a parchment-lined baking sheet to set.
If you prefer a simpler coating method, you can roll the truffles in a shallow dish filled with cocoa powder or finely chopped nuts. Carefully coat each truffle by gently rolling it around in the coating until it is fully covered. This method provides a contrasting texture to the smooth ganache center, giving your truffles an extra bit of crunch.
Decorating the Truffles
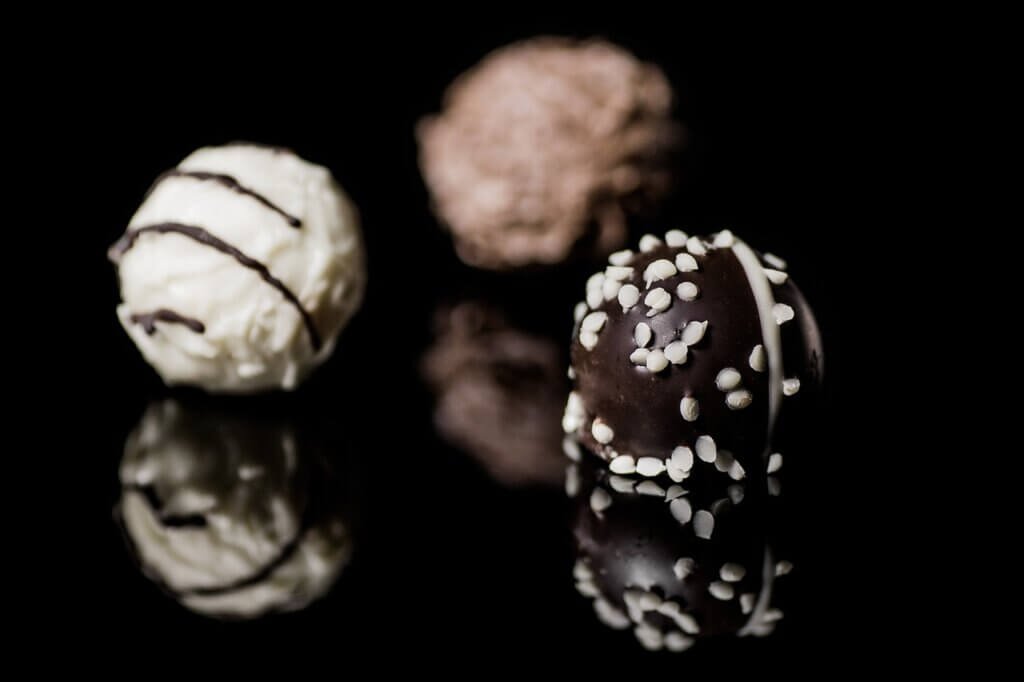
While the coating itself adds a touch of elegance to your truffles, there are plenty of ways to take their appearance to the next level and make them truly eye-catching. Drizzling melted chocolate on top of the coated truffles is a simple yet effective way to add a decorative touch. To do this, melt a small amount of chocolate, transfer it to a piping bag or a small resealable plastic bag with a tiny hole cut in one corner, and carefully drizzle it over the truffles in a zigzag pattern.
For a more elaborate decoration, you can use decorative molds or patterns. These can be purchased online or at specialty baking stores and come in various shapes and designs. Simply pour a small amount of melted chocolate into the mold, tap it gently to remove any air bubbles, and then press a truffle into each cavity. Allow the chocolate to set completely before gently unmolding the truffles. The result will be beautifully shaped chocolates that will impress anyone who lays eyes on them.
If you’re looking to add a little sparkle to your truffles, consider sprinkling them with edible glitter or dusting them with cocoa powder. These small details can elevate their appearance and make them look even more enticing. Edible glitter is available in different colors and can be lightly sprinkled over the truffles for a dazzling effect. On the other hand, a light dusting of cocoa powder can give your truffles a rustic-chic look, perfect for those who love a classic and timeless presentation.
Adding a Personal Touch
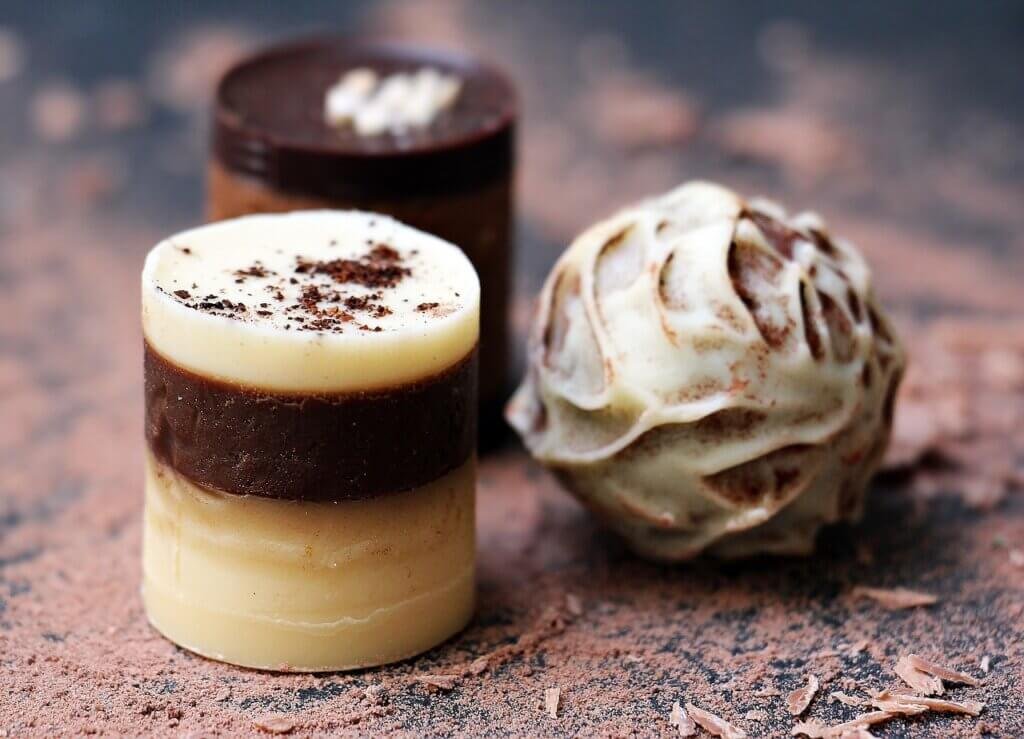
One of the best things about making homemade chocolate truffles is the ability to get creative and add a personal touch to each batch. You can start by using different types of chocolate. Dark, milk, and white chocolate each have their own unique flavor profiles, and mixing and matching them in various proportions can result in endless combinations. For example, you can try using a combination of dark and milk chocolate for a balance of flavors, or incorporate white chocolate for a sweeter touch.
When it comes to flavors and fillings, it’s all about experimenting and finding what excites your taste buds. Don’t be afraid to try new and unique combinations. Perhaps you’d like to infuse your ganache with a hint of lavender or matcha powder, or maybe you’d like to incorporate chopped nuts or dried fruits for added texture and flavor. The possibilities are limitless, and the more you play around with different ingredients, the more you’ll discover your own signature truffle creations.
Packaging and Gifting
Once your homemade chocolate truffles are ready, it’s time to think about presentation and how to make them visually appealing. Choosing attractive packaging materials plays a big role in the overall look of your truffles. Consider using small boxes, tin containers, or even clear cellophane bags tied with colorful ribbons. You can find a wide variety of options at craft stores or online, allowing you to choose a style that suits your taste and the occasion.
To add an extra touch of sophistication, line your chosen packaging with decorative paper or tissue paper. This not only makes your truffles look more elegant, but it also helps to protect them and keep them fresh. Make sure to select paper that complements the colors and flavors of your truffles. For example, choose gold or silver paper for a luxurious and festive feel or pastel tones for a more delicate and feminine presentation.
When placing the truffles in the packaging, consider arranging them in an appealing manner. You can line them up in straight rows, stack them gently on top of each other, or create a decorative pattern. The key is to make them look enticing and irresistible, like a hidden treasure waiting to be discovered.
To make your gift even more special, consider adding a personalized note or ribbon. Write a heartfelt message or a simple “Made with love” to show the recipient how much they mean to you. If you have a collection of ribbons or twine, tie a colorful bow around the packaging to add a finishing touch. These small details go a long way in making your homemade truffles feel thoughtful and unique.
Storing and Serving
Properly storing your chocolate truffles is essential to maintaining their freshness and ensuring they taste their best. Ideally, truffles should be stored in an airtight container in a cool, dry place away from direct sunlight. A cool pantry or cupboard is usually the perfect spot. If you live in a warmer climate or during the summer months, it may be necessary to store them in the refrigerator to prevent them from melting.
When it comes to serving your truffles, there are a few suggestions to keep in mind. First, consider the temperature at which you want to serve them. Many people prefer truffles at room temperature, as this allows the ganache to soften and the flavors to fully develop. To achieve this, simply remove the truffles from the refrigerator or pantry and let them sit at room temperature for about 20-30 minutes before serving. However, if you prefer a slightly chilled and firmer texture, you can serve them straight from the refrigerator.
Presentation also plays a role in serving your truffles. Consider placing them on a decorative platter or dessert plate, arranging them in a visually pleasing pattern. You can even dust a small amount of cocoa powder or powdered sugar over the top for an added touch of elegance. Adding a sprig of fresh mint or a few raspberries to the plate can bring a pop of color and freshness, making your truffles look even more enticing.
Tips and Troubleshooting
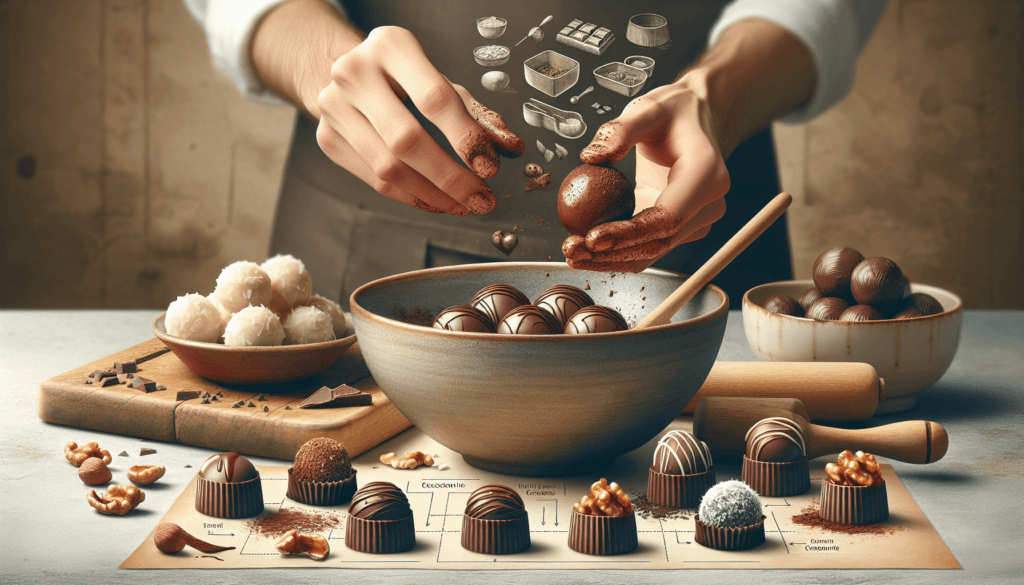
While making homemade chocolate truffles is a relatively straightforward process, there are a few helpful tips and troubleshooting suggestions to keep in mind. When melting chocolate, using a double boiler is highly recommended to avoid scorching or burning the chocolate. This method provides gentle and even heat, preventing the chocolate from seizing or becoming lumpy. If you don’t have a double boiler, you can create one by placing a heatproof bowl over a pot of simmering water.
If you encounter issues with your ganache, such as it being too runny or too firm, there are simple solutions to bring it to the desired consistency. If the ganache is too runny, you can chill it in the refrigerator for a short period of time to firm it up slightly before shaping. On the other hand, if the ganache is too firm and hard to work with, you can briefly warm it in a microwave or over a double boiler to soften it.
Texture or consistency problems can also arise when coating the truffles. If the melted chocolate seems too thick and doesn’t easily coat the truffles, a tablespoon of vegetable oil or melted cocoa butter can be added to thin it out. Conversely, if the melted chocolate is too thin and doesn’t stick well to the truffles, you can cool it down by placing it in the refrigerator for a few minutes or adding more melted chocolate to achieve a thicker consistency.
In the process of making homemade truffles, it’s important to have fun and not be too hard on yourself if things don’t turn out perfectly. Trial and error is part of the learning experience, and even if the appearance or texture of your truffles isn’t flawless, the flavor and love put into them will still shine through.
Health and Dietary Considerations
Chocolate truffles are undoubtedly a decadent treat, but if you have specific health or dietary concerns, there are options available to cater to your needs. For those who need to watch their sugar intake, using alternative sweeteners such as agave nectar, honey, or stevia can be used to sweeten the ganache. These sweeteners can be added to taste, allowing you to control the level of sweetness.
If you or someone you’re making the truffles for has dietary restrictions, such as lactose intolerance or a dairy allergy, there are suitable ingredient substitutions available. Instead of using regular heavy cream, you can opt for dairy-free alternatives like coconut cream or almond milk. Similarly, if you’re following a vegan diet, you can use dairy-free chocolate that is specifically labeled as vegan-friendly. These substitutions ensure that everyone can enjoy your homemade truffles, regardless of their dietary needs.
When it comes to choosing healthier options for coatings, consider using unsweetened cocoa powder or dark chocolate with a high cocoa content. Dark chocolate is known for its antioxidant properties and can offer health benefits when consumed in moderation. Additionally, you can roll your truffles in finely chopped nuts or shredded coconut for added nutritional value and texture. These alternatives provide a healthier twist while still maintaining the rich and indulgent nature of chocolate truffles.
In conclusion, making homemade chocolate truffles is a delightful and rewarding process. From selecting high-quality chocolate and experimenting with different flavors and fillings to shaping, coating, decorating, and packaging, every step allows you to add your personal touch and create something truly special. Whether you’re making them for yourself or to gift to loved ones, homemade chocolate truffles are a treat that will never go out of style. So, gather your ingredients, unleash your creativity, and let the chocolatey magic unfold.
