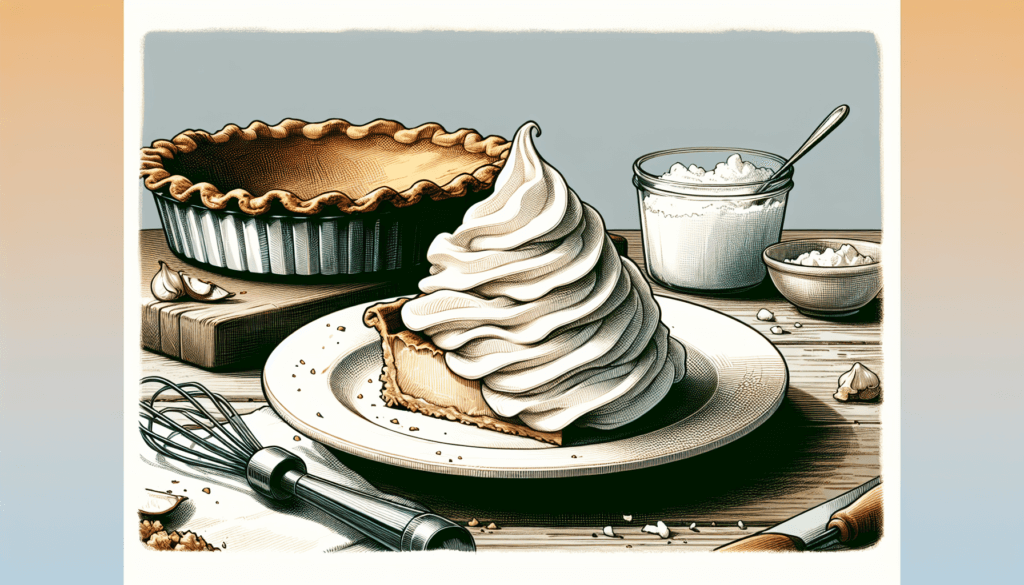
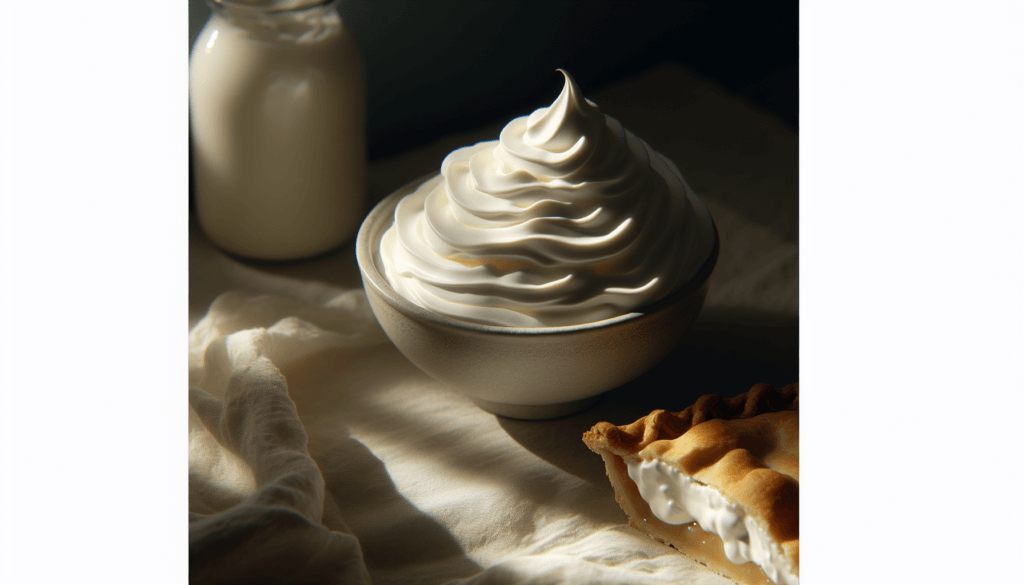
Are you craving a dollop of homemade whipped cream to top off your favorite dessert but don’t have a mixer on hand? Fret not! In this article, we will show you a simple and easy method to make creamy and fluffy whipped cream without the need for any special equipment. With just a few basic ingredients and a little bit of patience, you’ll be whipping up delicious homemade whipped cream in no time. So sit back, relax, and get ready to indulge in a dessert that is sure to impress!

Ingredients
To make homemade whipped cream without a mixer, you will need three simple ingredients: heavy cream, granulated sugar, and vanilla extract. These ingredients are easily accessible and can be found in most grocery stores. The heavy cream provides the rich and creamy base, while the sugar adds sweetness, and the vanilla extract enhances the flavor.
Tools
Although making whipped cream without a mixer may seem daunting, all you need are a few basic tools. A large mixing bowl will allow you to comfortably whisk the ingredients together. Additionally, a whisk will be your main tool for mixing the cream, sugar, and vanilla extract. Lastly, a chilled metal mixing bowl is essential as it helps to keep the cream cool while you whisk, resulting in airy and fluffy whipped cream.
Step 1: Chill the Mixing Bowl
Before you start making whipped cream, it’s important to chill the mixing bowl. This step ensures that the cream stays cold and doesn’t warm up too quickly while you whisk. Simply place the mixing bowl in the refrigerator for about 15-30 minutes before you plan to use it. The chilled bowl will create the optimal environment for whipping cream to its fullest potential.
Step 2: Gather the Ingredients
Once your mixing bowl is chilling, gather the three main ingredients: heavy cream, granulated sugar, and vanilla extract. It’s always a good idea to measure and prepare these ingredients before you start whisking to avoid any last-minute rushes. By having everything ready, you can focus on the process and enjoy the experience of making homemade whipped cream.

Step 3: Add Heavy Cream to the Mixing Bowl
After the mixing bowl has been chilled and the ingredients are ready, it’s time to add the heavy cream to the mixing bowl. Pour the desired amount of heavy cream into the chilled bowl. The amount will depend on how much whipped cream you want to make. Remember, the cream will expand as you whisk, so it’s best to start with a slightly smaller amount to avoid overflowing the bowl.
Step 4: Start Whisking
With the heavy cream in the mixing bowl, it’s time to grab your whisk and start whisking. Begin whisking the cream in a back-and-forth motion, moving your arm in a smooth and consistent rhythm. The key is to create enough speed and force to incorporate air into the cream, resulting in a light and fluffy texture. Whisking by hand may take a bit longer than using a mixer, but the end result will be just as delicious.

Step 5: Gradually Add Sugar
As you continue whisking the heavy cream, it’s time to gradually add the granulated sugar. Adding the sugar slowly helps to ensure that it dissolves completely into the cream, resulting in a smooth and sweet whipped cream. Sprinkle the sugar into the mixing bowl while whisking continuously. Be careful not to add too much at once, as it may hinder the incorporation process. Take your time and add the sugar little by little until it is all mixed in.
Step 6: Incorporate Vanilla Extract
To elevate the flavor of your homemade whipped cream, incorporate a touch of vanilla extract. Vanilla extract adds a subtle yet delightful taste that complements the sweetness of the cream and sugar. Add a small amount of vanilla extract to the mixing bowl and continue whisking. The vanilla extract will meld with the other ingredients, infusing the whipped cream with its distinct flavor.

Step 7: Continue Whisking
After adding the vanilla extract, it’s time to keep whisking. The duration of whisking will depend on the desired consistency of your whipped cream. If you prefer a soft peak, continue whisking until the cream thickens and forms soft and billowy peaks when the whisk is lifted. For a more stiff and stable whipped cream, whisk a little longer until the peaks become firmer. Be mindful not to over-whisk, as the cream may become curdled.
Step 9: Use or Store the Whipped Cream
Once you have achieved the desired consistency, you can now use or store your homemade whipped cream. The whipped cream is versatile and can be added to a wide range of desserts such as pies, cakes, fruit salads, or even served atop a warm cup of hot chocolate. If you have any leftovers, transfer the whipped cream to an airtight container and refrigerate. It is best to consume the whipped cream within a few days to maintain its freshness and texture.
Making homemade whipped cream without a mixer is a simple and enjoyable process. With just a few ingredients and basic tools, you can create a delicious and airy topping that will elevate any dessert. Whether you need a last-minute dessert or want to add a personal touch to your creations, making whipped cream by hand is a skill that will surely impress your family and friends. So go ahead, grab a whisk, and start whipping up your own homemade whipped cream today!


